en
en Français
 Español
How to Choose the Best Self Adhesive Floor Protector Film for Hardwood Floors
2026-08-13Why Hardwood Floors Need Temporary Surface Protection
Renovation crews, movers, and facility managers face a recurring problem: finished hardwood surfaces are exposed to foot traffic, dropped tools, dragged furniture, and dust long before a project is complete. A single scratch on a pre-finished oak or engineered plank floor can turn a profitable job into a costly rework. This is why self adhesive floor protector film has become a standard line item on construction and renovation checklists rather than an optional accessory.
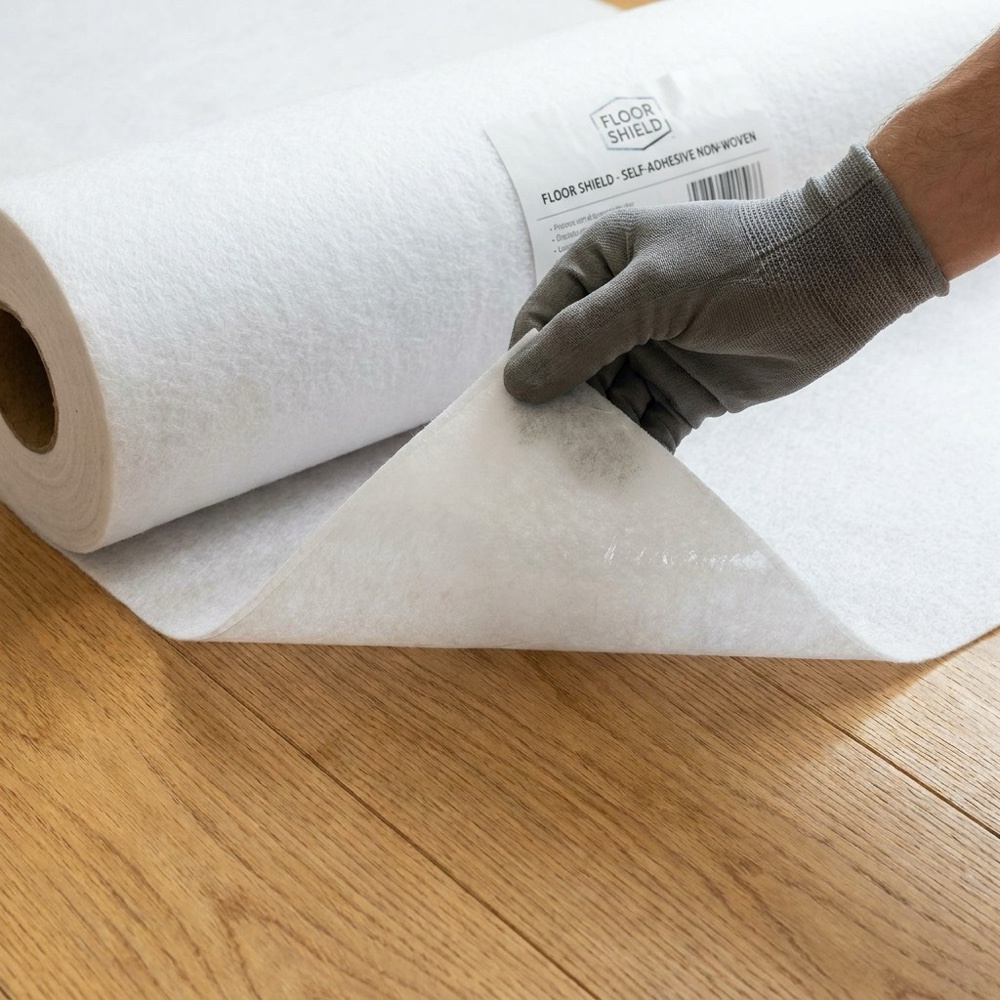
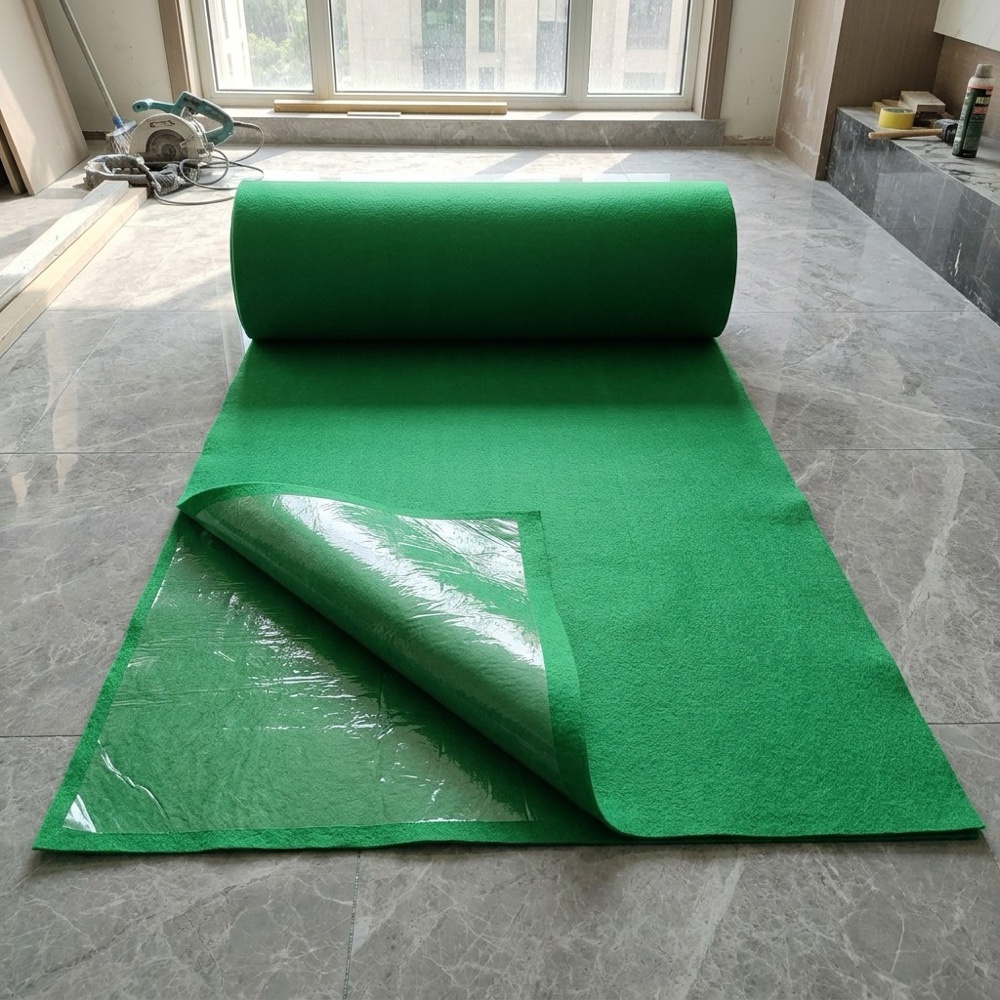
Unlike loose drop cloths or taped-down paper, a self adhesive floor protector film bonds directly to the finished surface with a low-tack adhesive layer, creating a continuous barrier against scuffs, spills, dust, and impact damage. The film stretches across seams, resists shifting under rolling carts, and can typically be removed in one continuous sheet without leaving sticky residue behind, provided the correct product and dwell time are used.
Understanding Film Construction and Adhesion Technology
Most temporary floor films share a similar three-layer construction: a protective top film, a middle absorbent or reinforcing layer, and a pressure-sensitive adhesive backing. The differences between products come down to the polymer used for the top layer, the thickness of the film, and the chemistry of the adhesive.
Polyethylene-based films are lightweight and economical but tend to tear under concentrated point loads, such as ladder feet or scaffolding legs. Reinforced films add a woven or laminated scrim that distributes impact energy across a wider surface area, which is why they hold up better on active job sites. The adhesive layer is engineered to bond enough to prevent slipping and edge lifting, while still releasing cleanly from lacquered, oiled, or UV-cured wood finishes when the film is peeled at a low angle.
Common Film Categories on the Market
- Standard polyethylene wrap film for light foot traffic and short-term storage
- Reinforced PVC film for medium-duty renovation zones
- Non-woven laminate film for breathable, moisture-tolerant applications
- Multi-layer composite film for heavy equipment paths and long-term construction sites
Comparing Scratch Resistance Across Film Types
Scratch resistance is usually the first performance criterion contractors evaluate, since it directly determines whether the film needs to be replaced mid-project. The chart below summarizes typical scratch resistance ratings, on a ten-point scale, reported for common temporary floor film categories under moderate foot and cart traffic.
How to Match Film Thickness to Your Project Load
Thickness, measured in microns, correlates closely with how much weight and abrasion a film can absorb before puncturing. Thinner films are adequate for light residential touch-up work, while thicker composite films are necessary anywhere pallet jacks, scaffolding, or repeated cart traffic are expected.
| Thickness | Typical Use Case | Expected Wear Duration |
|---|---|---|
| 60 micron | Residential touch-up, showroom display | 2 to 4 weeks |
| 90 micron | Interior renovation, moving day protection | 4 to 8 weeks |
| 120 micron | Active construction zones with cart traffic | 2 to 4 months |
| 150 micron | Commercial builds, scaffolding paths | 4 to 6 months |
Where Film Type Makes the Biggest Practical Difference
On mixed-use construction sites, hardwood floors are often installed weeks before the rest of the finishing work is complete, meaning the protective layer has to survive painting, cabinetry installation, and equipment staging without failing at the seams.
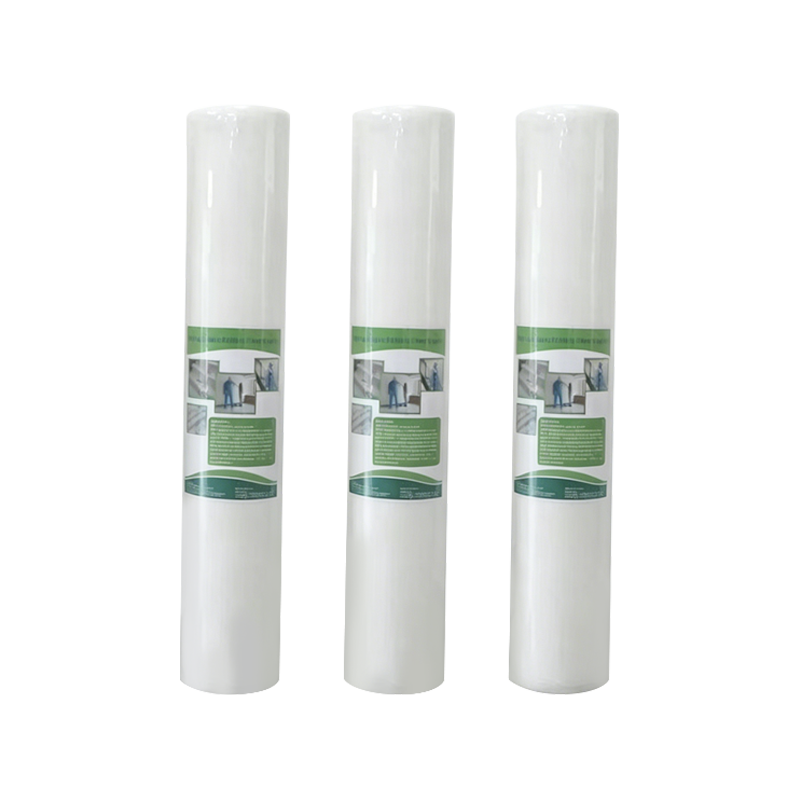
Selecting a film with the right balance of tack strength and surface tension prevents two common failure modes: adhesive that is too aggressive and risks pulling finish off the wood, or adhesive that is too weak and allows the film edges to curl and trap grit underneath, which causes the very scratches the film was meant to prevent.
Managing Adhesive Residue Risk Over Time
One of the most common concerns with any pressure-sensitive protective film is how long it can remain on a finished floor before removal becomes difficult or leaves residue. Adhesive chemistry changes gradually with UV exposure, temperature swings, and cumulative pressure, so residue risk increases the longer a film stays down.
As a practical guideline, most non-woven laminate and composite films are formulated to remain residue-free for up to 60 to 90 days under normal indoor conditions. Beyond that window, especially with direct sunlight exposure, it is advisable to inspect a test corner before committing to full removal.
How Adhesive Film Compares to Other Temporary Protection Methods
Hardwood floor protection is not limited to adhesive film. Breathable paper, corrugated board, and rigid plywood panels are also common alternatives, each with distinct trade-offs in cost, installation speed, and durability.
The comparison shows that floor protector film generally outperforms paper and corrugated board on scratch resistance and residue-free removal, while paper-based options remain competitive on raw material cost for very short, single-use applications.
Installation Process for Reliable Coverage
Proper installation technique has as much impact on final performance as the film itself. A rushed application with trapped air pockets or unsealed seams creates weak points where dust and moisture can undermine adhesion.
- Sweep and wipe down the floor to remove grit that could scratch the finish underneath the film
- Measure the room and cut film sections with a few centimeters of overlap at each seam
- Peel back the release liner gradually while pressing the film down to avoid trapping air
- Use a smoothing tool to press out bubbles from the center outward toward the edges
- Reinforce seams and perimeter edges with low-residue tape where the film meets baseboards
- Inspect the full area after installation and again periodically during the project
Common Mistakes That Undermine Floor Protection
Even a high-quality self adhesive floor protector film can fail if it is misapplied or left in place under conditions the adhesive was not rated for. The following issues account for most protection failures reported on active job sites.
- Installing film over dust or debris, which gets trapped and causes pressure-point scratching
- Leaving film down well beyond its rated duration, increasing residue risk
- Exposing film to direct sunlight for extended periods, which accelerates adhesive breakdown
- Using a light-duty film in a heavy equipment traffic zone, leading to punctures
- Removing film too quickly by pulling straight up instead of at a low peel angle
Frequently Asked Questions
Q1: How long can self adhesive floor protector film safely stay on hardwood floors?
Most quality films are rated for 60 to 90 days under normal indoor conditions without residue risk, though direct sunlight and high foot traffic can shorten that window. Always check the manufacturer's stated dwell time before extended use.
Q2: Will the adhesive damage a freshly finished or lacquered floor?
Film formulated for hardwood use low-tack adhesive designed to bond without lifting fresh finish, but it is good practice to test a small hidden section first, especially on floors finished within the previous week.
Q3: Can the film be reused after removal?
Self adhesive films are generally single-use products. Once removed, the adhesive layer loses tack and the film cannot be reliably reapplied without risking edge lifting or debris entrapment.
Q4: What thickness should be used for heavy equipment traffic?
For scaffolding, pallet jacks, or repeated cart movement, a thickness in the 120 to 150 micron range with a reinforced or composite construction is generally recommended to resist puncture.
Q5: How does film compare to breathable paper for long moisture-prone jobs?
Non-woven laminate film typically offers better moisture resistance than uncoated paper, which can absorb spills and transfer dampness to the floor surface underneath if left in place too long.
Contact Us
Your email address will not be published. Required field are marked*
Categories
- Company News(3)
- Industry News(8)

Contact Us
1337540116@qq.com